




Quick answer
An LED lighting upgrade replaces incandescent, halogen or fluorescent light sources with LED lamps, retrofit trims or integrated fixtures. Screw-in lamp swaps are a homeowner job; ballast-bypass tube conversions, integrated fixtures and dimmer changes are electrician work. Match lumens to the old bulb, choose one Kelvin color per room, use dimmable lamps on dimmer circuits, and confirm enclosed-fixture ratings so the LED driver does not overheat.
An LED lighting upgrade is the lowest-cost electrical improvement a Houston-area homeowner can make, and the one most often done badly. Mixed color temperatures, lamps that flicker on an old dimmer, and recessed trims that die in a hot attic are all avoidable with a little planning.
This guide is for homeowners in Katy, Richmond, Memorial and the Energy Corridor who want to convert a whole house, not just one lamp. It covers how LEDs differ from the bulbs they replace, how to read a package, which upgrade type suits each room and where a licensed electrician earns the call. For fixture replacements and new circuits, our indoor lighting service page explains what we install.
Key Takeaways
- LED lamps produce the same lumens as incandescent bulbs at roughly one-sixth the wattage and run far cooler.
- Screw-in LED lamps and retrofit recessed trims are homeowner jobs; ballast bypass, integrated fixtures and dimmer swaps are electrician jobs.
- Choose by lumens and Kelvin: 800 lumens replaces a 60-watt bulb, and 2700K to 3000K keeps living spaces warm.
- Use LED lamps marked dimmable and enclosed-fixture rated where the fixture or dimmer calls for it.
- Older dimmers often need replacing with an LED-rated model to stop buzzing, flicker and a high minimum brightness.
- LEDs add almost no heat to a room, which matters in Houston homes that run air conditioning eight months a year.
What Counts as an LED Lighting Upgrade?
LED stands for light-emitting diode. A semiconductor emits light directly and a small driver converts household AC to the low-voltage DC the diodes need. That driver is why LEDs behave differently from older bulbs: it is sensitive to heat, dimmer type and voltage quality.
In practice there are four upgrade paths, from simplest to most involved:
- Lamp replacement. Unscrew the old A19, BR30, candelabra or PAR lamp and install an LED version in the same socket. No tools, no electrician.
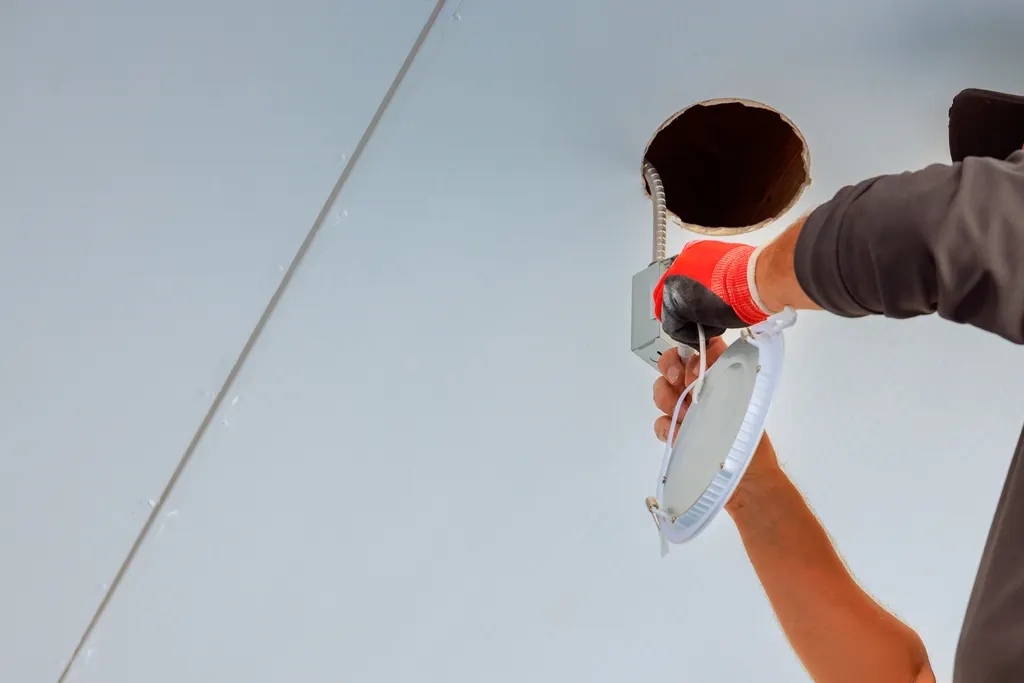
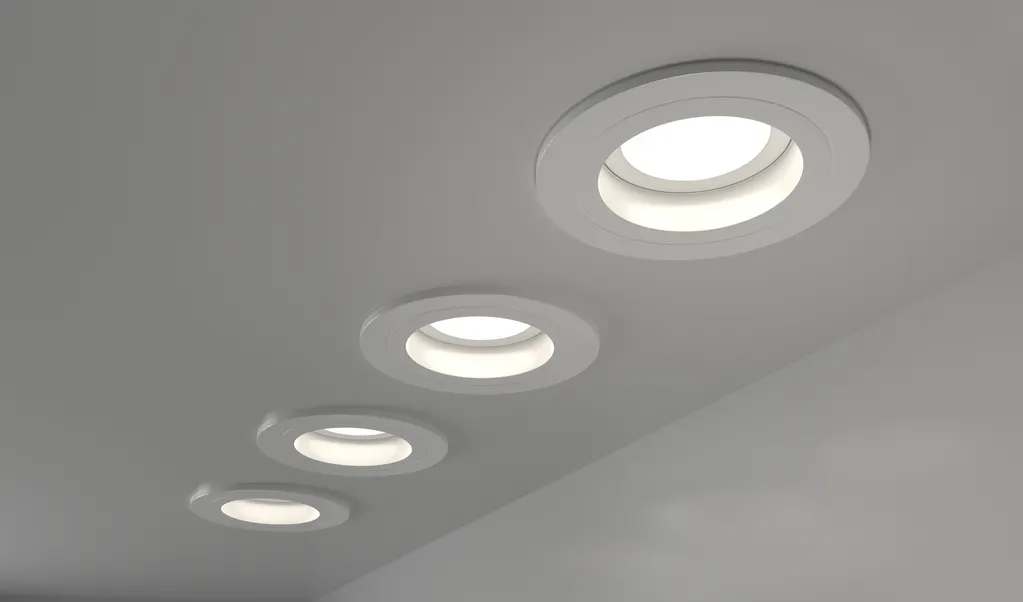
- Retrofit trim. For recessed cans, a sealed LED module with a trim ring screws into the existing socket and clips into the housing. The old can stays; the lamp and trim are replaced together.
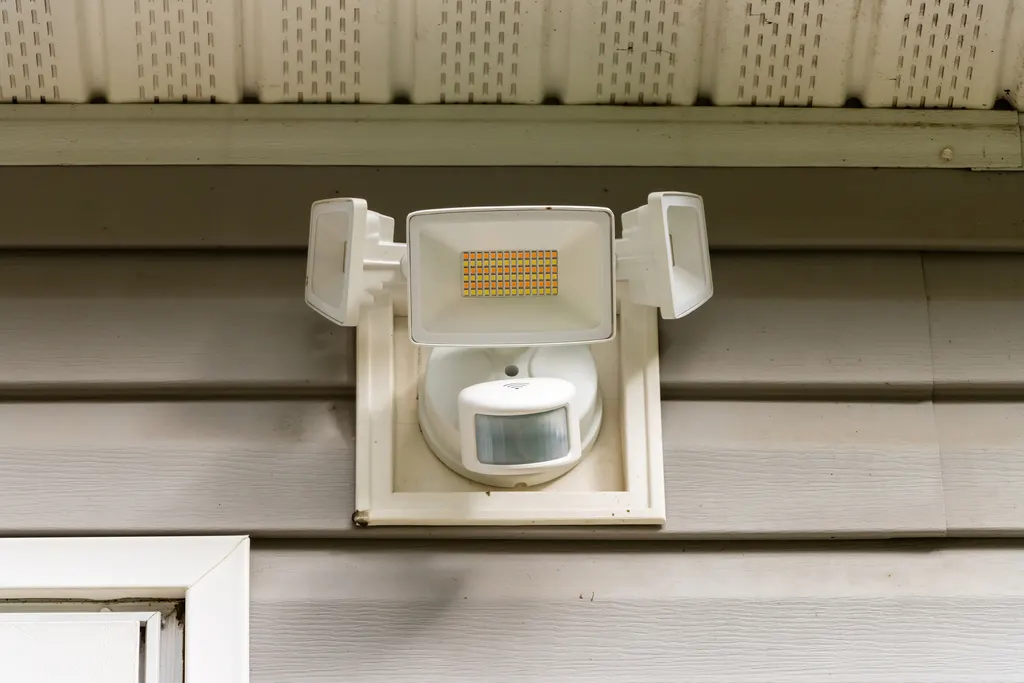
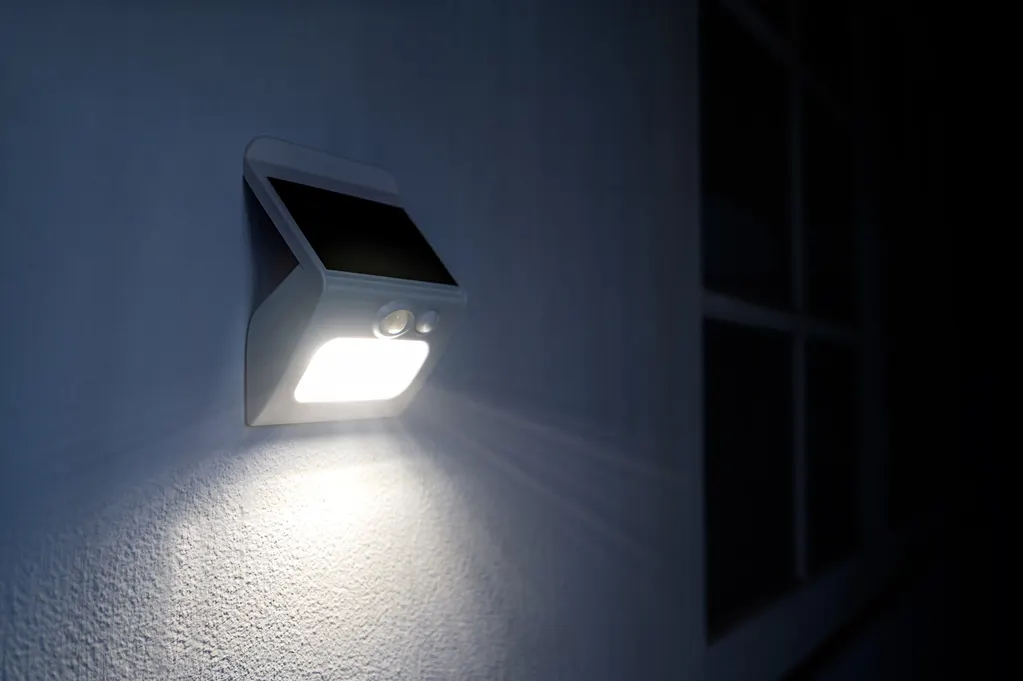
- Integrated fixture. The LED array is built into the fixture, with no replaceable lamp. Flush mounts, vanity bars, under-cabinet strips and most new exterior fixtures work this way. Installing one is a hard-wired fixture change.
- Ballast bypass or tube conversion. Fluorescent shop lights and kitchen troffers can take LED tubes. Type A tubes run on the existing ballast; Type B tubes need the ballast removed and the sockets rewired to line voltage, which is electrician work and should be labeled on the fixture.
Matching a path to each fixture is the planning job.
How Much Energy Does an LED Lighting Upgrade Save?
Compare watts for the same light output. An 800-lumen LED draws roughly 8 to 10 watts; the incandescent it replaces draws 60. A 65-watt BR30 flood becomes a 9 to 11-watt LED trim. A 50-watt halogen MR16 in track lighting becomes a 6 to 8-watt LED. Across forty or fifty lamps, that difference shows up on the retail electric bill every month.
Two savings are less obvious:
- Cooling load. An incandescent bulb turns most of its energy into heat. A room with six recessed incandescent floods is adding the heat of a small space heater that the air conditioner then removes. In a Houston summer, that second cost is real.
- Replacement labor. LED lamps are typically rated 15,000 to 50,000 hours depending on type, against roughly 1,000 for incandescent. For a two-story foyer fixture or a 14-foot ceiling in a Katy great room, fewer ladder trips matter.
Ratings assume the driver stays within its temperature limit. An LED in a sealed garage fixture, or a non-rated trim in a 130°F attic can, will not reach its rated life. For a wider look at where household electricity goes, read how to lower your electric bill.
How Do You Read an LED Package?
The Lighting Facts label on an LED package tells you nearly everything you need. Read it in this order.
- Lumens. Brightness. Match the old bulb: about 450 lumens for a 40-watt, 800 for a 60-watt, 1,100 for a 75-watt and 1,600 for a 100-watt incandescent.
- Color temperature (Kelvin). 2700K is warm white like incandescent; 3000K is slightly cleaner; 4000K is neutral; 5000K is daylight. Pick one value per room. Mixing 2700K and 5000K in the same ceiling is the most common complaint we hear after a DIY upgrade.
- CRI. Color rendering index, out of 100. Use 90 or above in kitchens, bathrooms and anywhere you judge color. 80 is acceptable in closets, garages and attics.
- Dimmable. If the package does not say dimmable, the lamp will flicker, buzz or fail on a dimmer. Some packages list compatible dimmer models; that list is worth checking.
- Enclosed fixture rated. Needed for globes, jar fixtures and sealed exterior lanterns where heat cannot escape.
- Wet or damp location. Required for exterior lamps and for bathroom fixtures over a tub or shower.
- Base and shape. E26 medium, E12 candelabra, GU10 and GU24 twist-lock bases are not interchangeable. BR30 and PAR30 look similar but PAR lamps throw a tighter beam.
Buy a room's lamps from one product line so color and dimming match.
Which LED Upgrade Fits Each Room?
Kitchen
Retrofit trims in existing cans at 3000K to 4000K, 90 CRI, plus integrated under-cabinet strips for the counters. A 1980s fluorescent box light is best replaced with a flat LED panel or a cluster of recessed lights.
Living and dining rooms
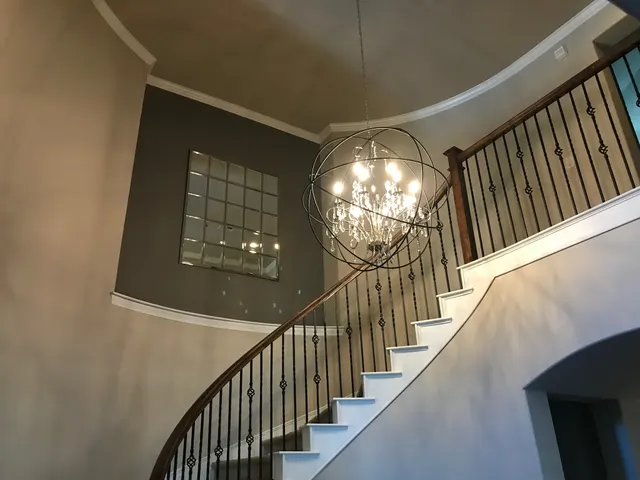
2700K dimmable lamps in lamps and chandeliers, with the dimmer verified for LED. This is where dimmer problems appear first, so plan the switch and the lamps together.
Bathrooms
90 CRI vanity lamps at 3000K so skin tone reads true. Over a tub or shower, the fixture and lamp must carry a damp or wet rating.
Bedrooms and hallways
Warm 2700K, lower lumens, and a dimmer in the primary bedroom. Hallway cans at 3000K keep the transition from living areas natural.
Garage, laundry and attic
This is where 4000K to 5000K belongs. Replace fluorescent strips with integrated LED shop fixtures or Type B tubes; both remove the ballasts that hum and fail in humidity.
Exterior
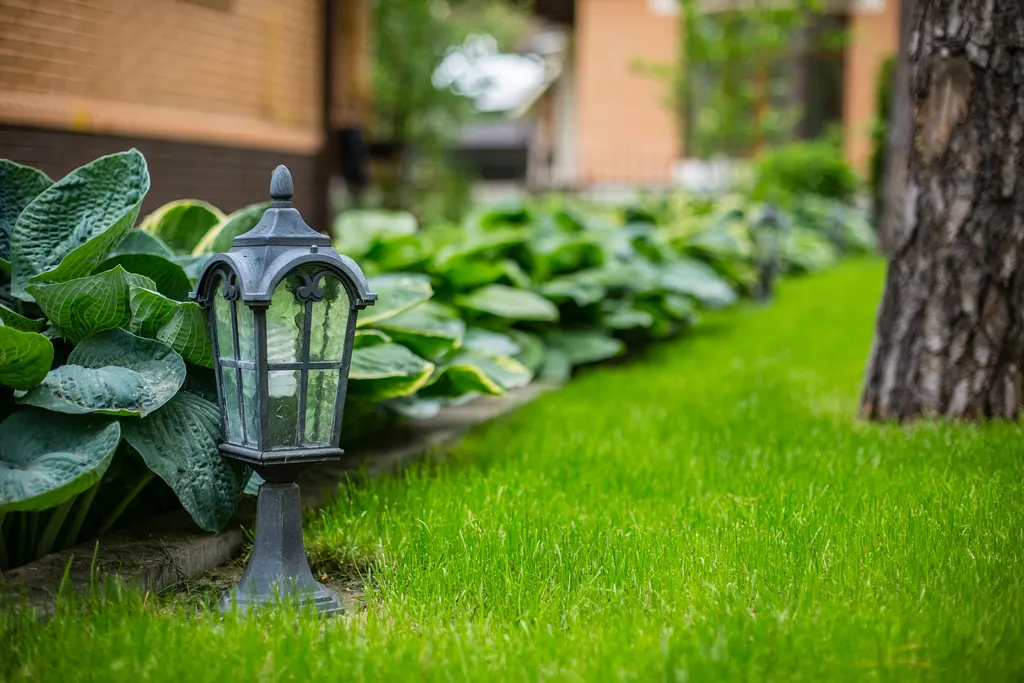
Wet-rated lamps or integrated fixtures at 2700K to 3000K for porches and coach lights. Many master-planned communities in Fort Bend County specify warm, shielded exterior lighting in their deed restrictions, so check before buying 5000K floods.
For the recessed-versus-track decision that comes up in kitchens and living rooms, see recessed vs track lighting.
Will LEDs Work With My Existing Dimmers, Fixtures and Fans?
Usually, with three exceptions that cause most LED complaints.
Old dimmers. A dimmer made for incandescent loads expects a resistive load of 40 watts or more. Put four 9-watt LEDs on it and you are below its minimum, so the lamps flicker at low settings, buzz, or refuse to go fully dark. The fix is an LED-rated dimmer, matched to the lamp type. We explain the forward-phase and reverse-phase distinction in our post on LED dimmer buzzing and flickering.
Enclosed and recessed fixtures. The driver in an LED lamp is rated to a maximum case temperature. Sealed exterior jars, glass globes and older non-IC recessed housings trap heat. Use lamps marked for enclosed fixtures, or in recessed cans, a retrofit trim whose heat sink sits inside the room-side opening rather than up in the can.
Ceiling fan light kits. Many 2000s fans have a wattage limiter in the light kit designed around incandescent candelabra lamps. Some limiters flicker or refuse to light LEDs. Replacing the limiter or light kit is a quick electrician job; if the fan itself wobbles or hums, our ceiling fan installation team can address both at once.
If LEDs flicker on a circuit with no dimmer at all, suspect a loose neutral or voltage sag when the air conditioner starts. That is a wiring issue, not a lamp issue.
LED Lighting Upgrades in Memorial, Energy Corridor, Katy and Richmond Homes
The houses we work in fall into two groups, and each needs a different LED plan.
Memorial and Energy Corridor homes built in the 1960s through 1980s often have dozens of incandescent recessed cans, halogen track in the living room, fluorescent box lights in the kitchen and vaulted ceilings. We see 1970s cans that are not IC-rated sitting in blown insulation, with the thermal cutoff tripping on hot days and the light cycling off and on. A retrofit trim fixes the lamp cost, but the housing still needs checking; sometimes the right answer is a canless LED wafer that seals the ceiling and removes the heat problem. We also check for aluminum branch wiring before touching any fixture box.
Katy and Richmond homes in Cinco Ranch, Grand Mission, Aliana and Harvest Green are newer, with builder-grade fixtures that were cheap rather than wrong. The common upgrade is 90 CRI lamps, dimmers in the family room and primary bedroom, and converted garage strip lights. These homes usually have neutrals at the switches, so smart dimmers install cleanly.
Across all of them, Houston heat is the enemy of LED drivers. Attic temperatures above 130°F in July shorten the life of any recessed product not rated for insulation contact and airtight installation. West-facing exterior fixtures take direct sun for hours, so choose integrated fixtures with a stated operating temperature range and a glass lens rather than thin acrylic. See our Katy electrician and Memorial electrician pages for local details.
DIY vs Licensed Electrician: Where Is the Line on an LED Upgrade?
You can safely do more of an LED upgrade yourself than almost any other electrical project. Keep these on your side of the line:
- Screw-in lamp replacements of every base type.
- Retrofit trims in recessed cans, following the package instructions and with the switch off.
- Plug-in under-cabinet strips and lamps.
- Type A LED tubes that run on the existing fluorescent ballast, if the ballast is working.
Hand these to a licensed electrician:
- Ballast-bypass (Type B) tube conversions. The sockets are rewired to line voltage and the fixture must be relabeled; done wrong, it leaves a shock hazard at the next tube change.
- Integrated fixtures. Hard-wired. An undersized box, aluminum wiring or a box not rated for the weight needs correcting first.
- Dimmer and smart switch replacement. Three-way circuits, boxes without neutrals and wires with brittle insulation turn a ten-minute swap into a troubleshooting session.
- Anything that flickers without a dimmer or that trips a breaker. That is a circuit problem.
We get the follow-up call after DIY jobs for two things: a Type B tube installed in a fixture that still has its ballast, and a smart dimmer powered through the ground wire because the box had no neutral. Both are hazards. The Local Electrician, licensed under TECL #34406, quotes the work upfront and carries LED-rated dimmers on the truck so lamps and controls get matched on the first visit.
What Affects the Cost of Converting a Home to LED?
A whole-house LED conversion can be a shopping trip or a full-day electrical job, and the difference is mostly fixture type. We price each job after a walkthrough; the variables are:
- Mix of upgrade paths. Lamp swaps cost only the lamps. Integrated fixtures and ballast bypasses add labor per fixture.
- Fixture count and ceiling height. A 20-foot foyer or vaulted great room means lift equipment and more time per fixture.
- Controls. Each LED dimmer or smart switch is a part plus installation, and a missing neutral means running wire.
- Recessed can condition. Non-IC cans in insulation are safest replaced with IC-rated airtight housings or canless wafers rather than retrofitted.
- Wiring findings. Aluminum branch circuits, overfilled boxes or brittle insulation found during the work add remediation.
- Lamp quality. 90 CRI, dimmable, enclosed-rated lamps cost more than basic 80 CRI lamps and are worth it in living areas.
Estimates on installation work are free, and a whole-house project can use our financing options. If you want schedules and voice control too, plan it alongside smart lighting controls and Wi-Fi dimmers so the switches are only bought once.
Frequently Asked Questions
What are the main benefits of upgrading to LED lighting at home?
Lower electricity use for the same brightness, far longer lamp life, much less heat added to the room, instant full brightness with no warm-up, and more control over color temperature. In Houston-area homes the reduced heat matters as much as the lower wattage because the air conditioner no longer has to remove it.
How long do LED lights last?
Most residential LED lamps and fixtures are rated between 15,000 and 50,000 hours, which works out to many years of normal use. Rated life assumes the driver stays within its temperature limit, so an LED in a sealed fixture, a hot attic can or an unconditioned garage will not reach its rating unless it is marked for that use.
Can LED lights be dimmed?
Yes, if the lamp is marked dimmable and the dimmer is rated for LED loads. Incandescent-era dimmers often flicker, buzz or will not dim fully with LEDs because the load is below their minimum. Replacing the dimmer with an LED-rated model, matched to the lamp's driver type, solves most problems. Non-dimmable lamps should never be used on a dimmer.
Are LED lights safe for home use?
Yes. LEDs run cooler than incandescent and halogen lamps, contain no mercury, and are less likely to scorch a fixture or shade. The safety issues that do arise come from installation: a ballast-bypass tube in a fixture that still has its ballast, or a lamp not rated for an enclosed fixture. Those are avoidable with the right product and a licensed electrician where wiring changes.
What should I consider when choosing LED lights for my home?
Match lumens to the bulb you are replacing, choose one color temperature per room, pick 90 CRI for kitchens and bathrooms, confirm the lamp is dimmable if it goes on a dimmer, and check for enclosed-fixture and wet-location ratings where needed. Buy a room's worth from one product line so the lamps match.
Do I need an electrician to switch to LED lighting in Katy or Richmond?
Not for screw-in lamps or recessed retrofit trims. You do for hard-wired integrated fixtures, ballast-bypass tube conversions, dimmer and smart switch replacement, and any LED that flickers without a dimmer, which points to a wiring fault. The Local Electrician handles those from its Richmond office with upfront pricing and free estimates on installations.
Why do my new LED bulbs flicker?
On a dimmer, the usual cause is an incandescent-rated dimmer or a non-dimmable lamp. On a plain switch, flicker points to a loose connection, a shared neutral problem or voltage dips when a large motor starts. Try a different lamp first; if the flicker continues, have the circuit checked rather than replacing more bulbs.